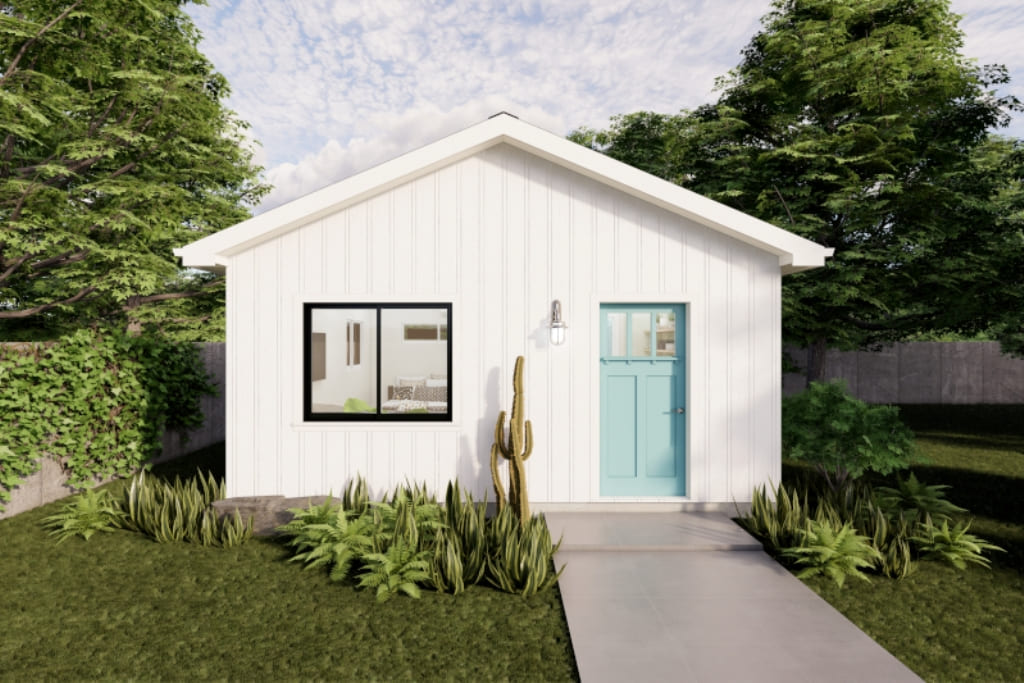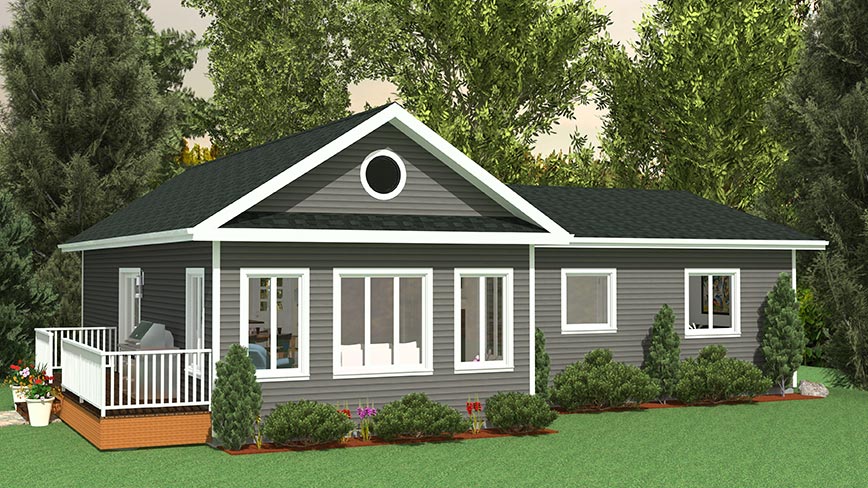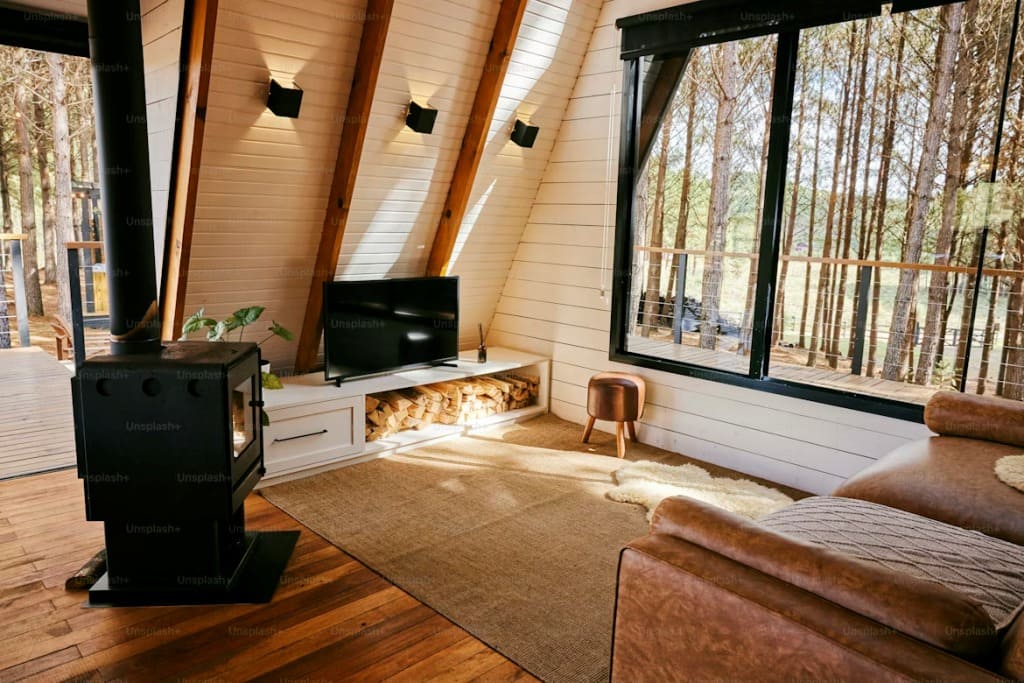
There’s a certain moment that happens on almost every small-lot ADU project, usually right after the survey comes back and the buildable footprint turns out to be smaller than everyone hoped. The instinct is to feel disappointed, like the project just got downgraded. In practice, some of the most livable, most photogenic, most heavily booked short-term rental units on the market are built on exactly this kind of constraint. A well-designed 300-square-foot studio can feel more spacious than a poorly laid out 600-square-foot one-bedroom, and the difference almost always comes down to a handful of design decisions made early.
Studio ADU layouts have become one of the fastest-growing categories in backyard construction, not because homeowners are settling for less, but because tight urban lots, strict setback requirements, and short-term rental economics are pushing more projects toward compact, highly efficient footprints. If you’re staring down a small buildable area and wondering whether a real, comfortable living space is even possible, the answer is almost always yes, provided the layout is built around the constraint rather than fighting it.
Why Studio ADU Layouts Are Having a Moment
A few forces are converging here. Urban infill lots, the kind you find in older neighborhoods with narrow side yards and modest backyards, often can’t physically accommodate a two-bedroom detached unit once setbacks, height limits, and existing trees are accounted for. Short-term rental hosts have also figured out that a well-designed studio, priced right, frequently outperforms a larger unit on a per-square-foot revenue basis, since guests are paying for a clean, functional stay rather than square footage they won’t use.
There’s also a simple cost argument. Smaller footprints mean less foundation, less roofing, less exterior wall, and often a faster permitting timeline. Studio ADU layouts tend to be the fastest category to design, permit, and build, which matters enormously if you’re trying to get a rental-ready unit online before a specific season or before financing terms change. Running your specific footprint through FindADUPros’ ADU cost calculator is a good way to see just how much a few hundred square feet actually saves once labor, materials, and finish costs are added up.
Built-In Furniture: The Backbone of Any Good Micro Layout
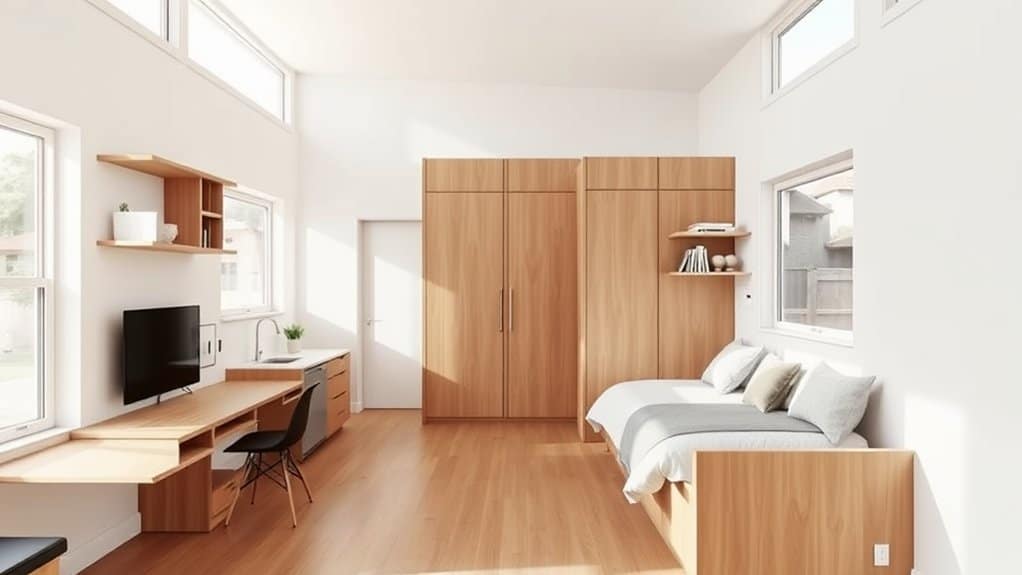
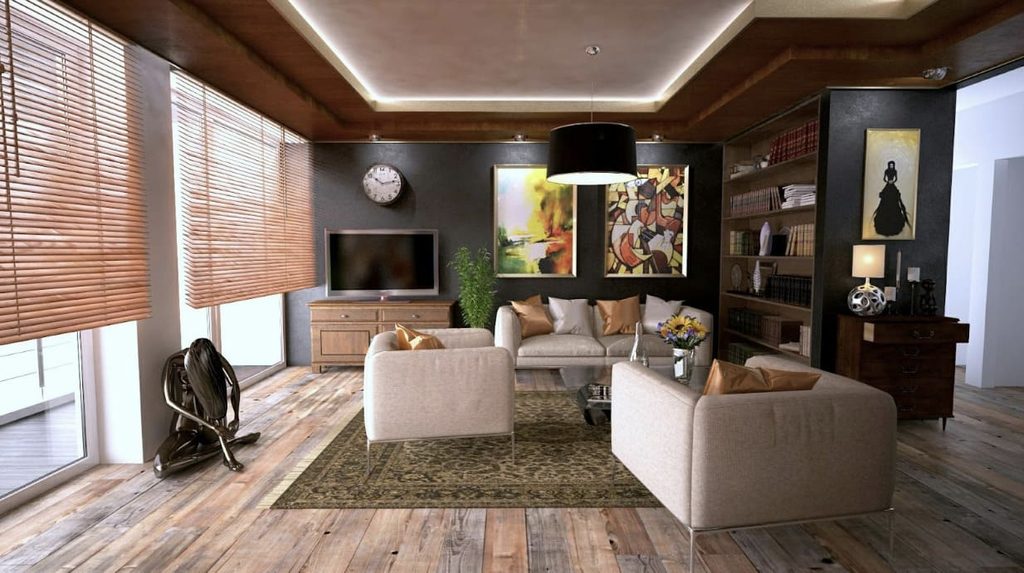
If there’s one lesson borrowed directly from tiny-house engineering, it’s this: fixed, purpose-built furniture almost always outperforms freestanding pieces in a small footprint. A Murphy bed that folds into a wall unit during the day reclaims what would otherwise be a permanently bed-shaped dead zone in the middle of your living space. The best versions integrate directly into a wall of built-in storage, so the bed isn’t just hidden, it’s part of a functional cabinetry wall that also handles closet space, shelving, and sometimes even a fold-down desk.
Hidden storage dividers do double duty in the best studio ADU layouts. A slim, floor-to-ceiling unit positioned between the sleeping area and the living area can define separate “zones” within an open floor plan without the visual weight of a full wall, while quietly absorbing clothing, linens, and everyday clutter that would otherwise pile up on visible surfaces. Some designers go further and build a bookshelf-style divider that’s open on both sides, giving you storage access from either the bed side or the living side without sacrificing the sense of an open room.
Multi-functional furniture rounds out the approach: a dining table that folds flat against the wall when not in use, a storage ottoman that doubles as extra seating, a daybed with drawers built into the base. None of these are exotic ideas, but the cumulative effect of choosing furniture that earns its square footage twice is what separates a studio that feels cramped from one that feels intentional.
Single-Wall Kitchenettes: Keeping the Floor Open
Kitchen layout is where a lot of studio ADU layouts either succeed or quietly fail. A galley kitchen with counters on both sides might look efficient on paper, but in a small footprint it creates a narrow corridor that chops the unit into segments and makes the whole space feel tighter than it actually is.
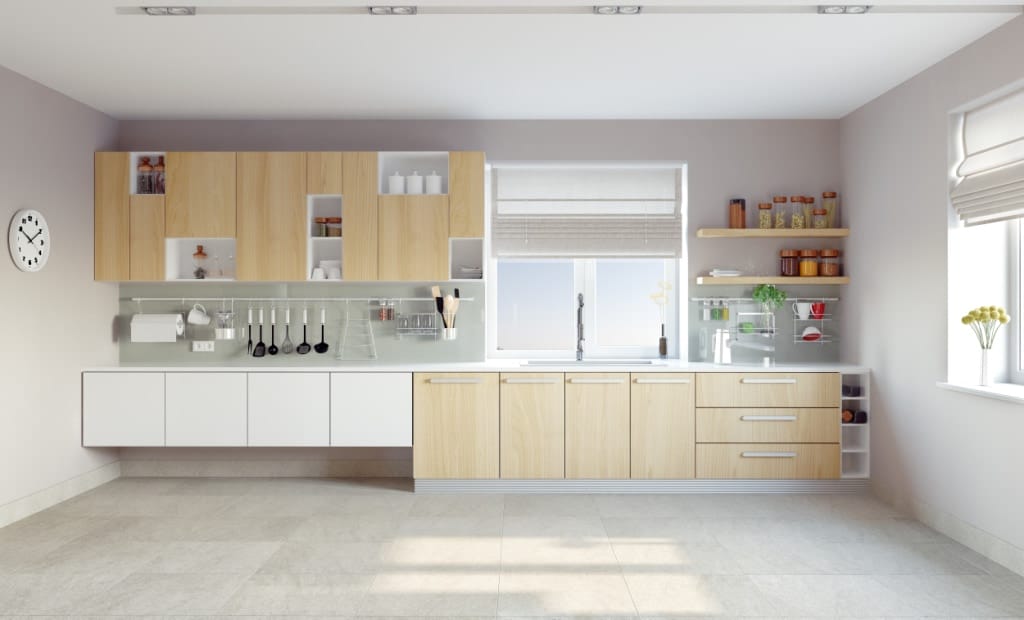
A single-wall kitchenette- everything, the range, sink, refrigerator, and counter run, arranged along one wall- solves this. It keeps the entire opposite side of the room open for living and sleeping zones, and it reads visually as one clean surface rather than a boxed-in cooking area. Pairing a single-wall layout with a slightly recessed appliance profile, counter-depth refrigerators, an induction cooktop instead of a bulky range, keeps the wall flush and avoids the visual clutter of protruding appliances breaking up the sightline.
The single-wall approach also happens to work well with the electrical and plumbing rough-in requirements for a compact ADU, since all your wet and high-draw connections are consolidated to one wall rather than spread across the unit. If you’re weighing a single-wall kitchenette against a more traditional layout, FindADUPros’ AI ADU design advisor can help you visualize both options against your actual floor plan before you commit to cabinetry and appliance placement.
Using Skylights and Transom Windows to Expand Vertical Space
One of the more underused tricks in studio ADU layouts is treating the ceiling as usable design real estate, not just a surface to close off. Horizontal square footage is fixed by your lot, but vertical volume is often more flexible than homeowners assume, and it’s one of the few dimensions you can expand without touching a single setback line.
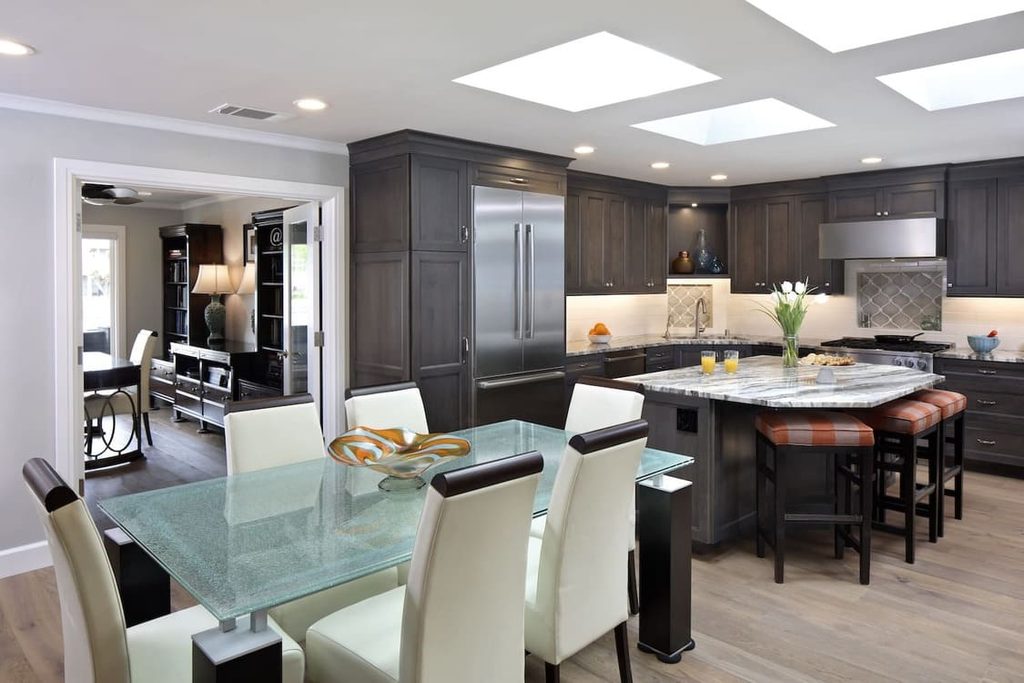
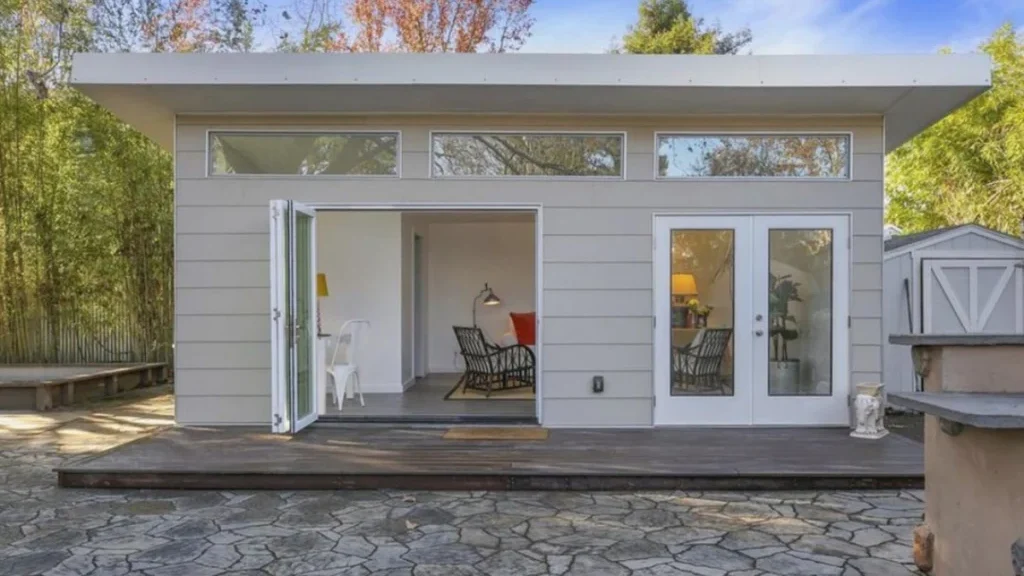
A well-placed skylight above the kitchen or the bed nook does two things at once: it pulls in significantly more daylight than a comparable wall window, and it draws the eye upward, which makes even a genuinely small room read as taller and more open. Transom windows, the narrow horizontal windows placed above doors or cabinetry, achieve something similar without eating into wall space that would otherwise hold storage or furniture. They let light bounce deeper into the unit’s interior, particularly useful in a studio where the sleeping area is often set back from the main windows.
This matters even more in jurisdictions with strict height limits on detached ADUs, since you often can’t simply build taller to add volume. Skylights and clerestory-style transom windows let you borrow a sense of height from within your existing roofline rather than requiring a variance. Before finalizing window placement, it’s worth confirming your local height and setback allowances through FindADUPros’ zoning information lookup tool, since skylight wells and roof modifications sometimes interact with height limits differently than standard wall openings.
Common Micro-Layout Blunders That Kill the Feel of a Studio
Not every small-footprint decision works in the unit’s favor, and there are a handful of mistakes that show up again and again in studio ADU layouts that end up feeling claustrophobic rather than cozy.
- Over-furnishing the floor plan. It’s tempting to fit in everything a full-sized apartment would have, a separate desk, a full dining set, a large sectional. In a studio, every piece of furniture you add subtracts from your circulation space, and a room that’s technically “furnished” but impossible to walk through comfortably will always feel smaller than an emptier room with a few well-chosen pieces.
- Choosing a dark or busy color palette. Deep, moody paint colors photograph beautifully in a large room but tend to visually shrink a small one, especially when paired with limited natural light. Most successful studio ADU layouts lean on lighter walls and ceilings, saving bold color for a single accent wall or the exterior trim, where it reads as a design choice rather than a space-shrinking mistake.
- Skipping sightline planning. A common error is placing the largest piece of furniture, usually the bed, directly opposite the entry door, so it’s the first thing anyone sees when they walk in. Positioning the bed off to the side, ideally behind a partial divider, and letting the kitchen or living zone greet visitors first, makes a huge psychological difference in how “open” the unit feels.
- Under-planning storage before construction starts. Retrofitting built-in storage after drywall is up is far more expensive and often less effective than designing it into the framing from day one. Closets, cabinetry walls, and under-bed storage should be part of the architectural plans, not an afterthought solved with freestanding furniture later.
- Ignoring exterior sightlines. A studio that opens onto a fence, a utility meter, or a neighbor’s wall will always feel more confined than one oriented toward even a small patch of greenery or open sky. When possible, orienting the main window wall away from the property line and toward whatever open space exists on the lot makes a measurable difference in how the interior feels, even though it has nothing to do with the interior square footage itself.
Budgeting and Financing a Compact Build
Because studio ADU layouts are smaller, it’s easy to assume the entire project will be proportionally cheaper, and while that’s often true for framing and roofing, finish-level costs, cabinetry, built-ins, tile, fixtures, don’t scale down quite as linearly. A studio still needs a full kitchen and bathroom, and the built-in furniture solutions that make micro layouts work well are often custom millwork rather than off-the-shelf pieces, which can add cost per square foot even as the total project cost drops.
Running your numbers through FindADUPros’ ADU loan calculator early in the process helps set realistic expectations before you fall in love with a Pinterest board full of custom built-ins that may need value engineering to fit your budget. And whatever the final design, confirming your contractor’s licensing and experience specifically with compact or modular builds through FindADUPros’ contractor license lookup tool is worth doing before signing, since not every general contractor has the millwork and space-planning experience that a tight studio layout really benefits from.
The Bottom Line
A small footprint doesn’t have to mean a compromised living space. The best studio ADU layouts treat every square foot as multi-purpose, lean on built-in furniture instead of freestanding pieces, keep the kitchen consolidated to a single wall, and borrow vertical volume through thoughtful window placement rather than fighting the constraints of a tight lot. The mistakes that make a studio feel small are almost always design choices, over-furnishing, poor sightlines, retrofitted storage, not the square footage itself.
If you’re working with a compact backyard or an urban infill lot, treat that constraint as a design brief rather than a limitation. Some of the most sought-after backyard units on the rental market today are proof that 300 square feet, designed well, can outperform a much larger space designed carelessly.