The conversation usually starts the same way. A parent had a fall, or a close call, and suddenly the idea of them living alone in a two-story house with a narrow bathroom doorway feels genuinely risky. An ADU in the backyard sounds like the answer, close enough for daily support, private enough to preserve independence. But here’s what a lot of families discover partway through design: not every backyard cottage is actually built for the person who’s going to live in it.
Accessible ADU floor plans require decisions that a standard plan simply doesn’t make, and getting them right the first time matters more here than in almost any other kind of build, because retrofitting a finished ADU for a wheelchair or a walker is expensive and disruptive in a way that planning never is.
This guide walks through what actually makes an ADU accessible, from the path leading up to the front door to the wiring hidden inside the walls, and it draws a clear line between two terms that get used interchangeably but mean genuinely different things for your project.
ADA, Universal Design, and Aging in Place: Three Different Things
This distinction trips up more homeowners than almost anything else in accessible design, so it’s worth getting straight before you design a single room.
The Americans with Disabilities Act sets accessibility standards, but those standards apply to public and commercial buildings, not private single-family homes. An ADU built for a family member is not legally required to meet ADA specifications unless it’s part of a federally funded program or a rental subject to fair housing accessibility rules. That said, ADA measurements– a 60-inch turning radius, a 32-inch minimum clear door width, and specific grab bar placement- are the most rigorously tested accessibility numbers that exist, and most designers use them as a baseline even when they’re not legally mandatory.
Universal design is the voluntary framework that actually applies to most private ADU projects. It borrows heavily from ADA dimensions but focuses on making a space work well for the widest range of people: a wheelchair user, an older adult with balance concerns, a parent pushing a stroller- without looking institutional or clinical.
Aging in place is the goal rather than a design standard. It means designing so someone can stay in their home safely as their mobility, vision, or strength changes over time, rather than needing to move to different housing when a physical limitation appears. In practice, that means building some accessibility features now and preparing the structure for others later, even before they’re needed.
For most families building an accessible ADU floor plan, the right approach borrows ADA’s precise measurements as a baseline, applies universal design’s more livable aesthetic, and plans construction with aging in place’s long view in mind. None of the three replaces the other; they layer together.
Start With the Route, Not the Room
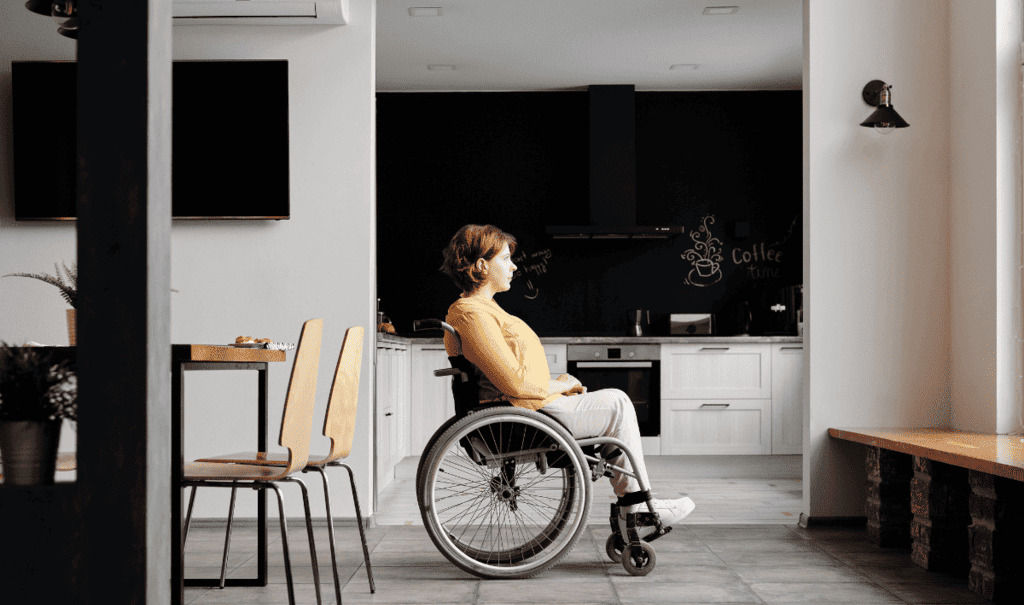
The single most common mistake in accessible ADU planning is designing the interior first and treating the path to the front door as an afterthought. A perfectly accessible bathroom means nothing if the only way to reach it involves a curb, a gravel path, or a set of stairs.
Map the entire route from where a car parks or a caregiver drops someone off, all the way to the ADU’s front door, before you finalize anything else. That route needs a firm, level, slip-resistant surface, adequate width for a wheelchair or walker, and no unexpected grade change that would require a ramp added on later as a patch rather than designed in from the start.
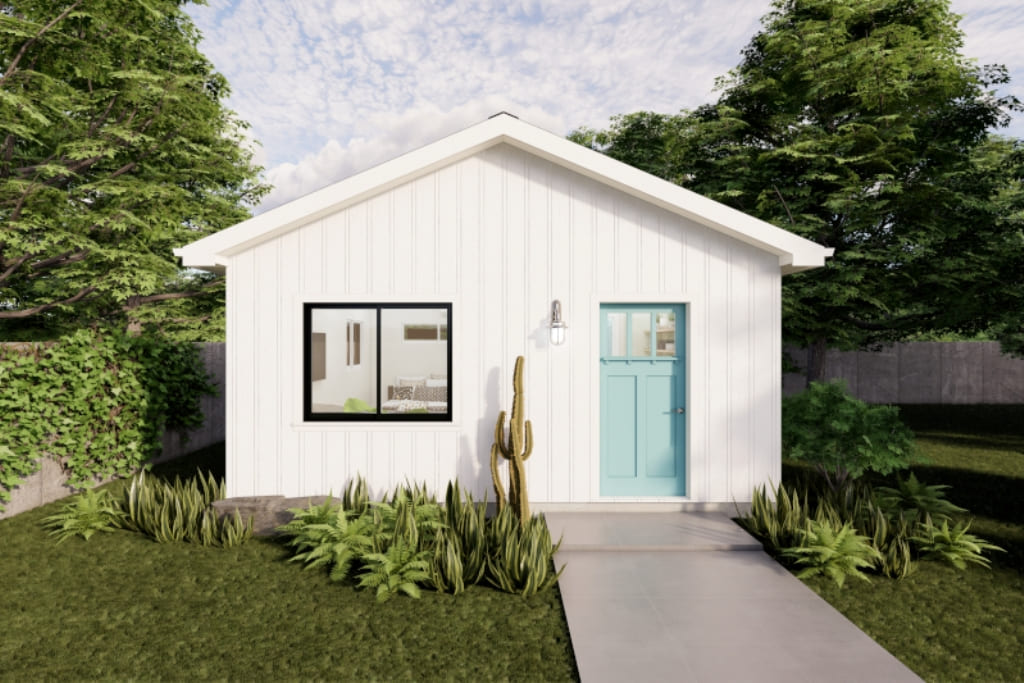
The entry itself needs a zero-step threshold, meaning no curb or raised lip at the doorway, and a covered landing large enough for someone to maneuver a wheelchair while managing a door, a bag, or an umbrella. This is exactly the kind of detail that’s dramatically cheaper to build correctly the first time than to retrofit once a poured foundation and finished landscaping are already in place. Confirming your lot’s grade and buildable envelope early, through our zoning information lookup tool, helps you understand whether a level, no-step path is realistic on your specific site before you commit to a design.
Single-Story Plans, Turning Space, and Clear Circulation
Accessible ADU floor plans are almost always single-story. A loft or a second floor might look charming in a rendering, but it puts the only bedroom out of reach for anyone who can’t manage stairs, which defeats the entire purpose of the project. If your buildable footprint is tight, resist the temptation to solve it by going vertical on an accessible unit; work with your designer on a more efficient single-level layout instead.
Inside, every room needs enough clear floor space for a wheelchair to turn around, generally a minimum of 60 inches in diameter, or a T-shaped turning space where a full circle won’t fit. Hallways need to be wide enough for comfortable wheelchair passage, typically at least 36 inches, and doorways throughout the unit need real attention to actual clear width, not just the labeled door size.
This is a detail that catches a lot of homeowners off guard: a standard 32-inch door slab doesn’t actually deliver 32 inches of clear passage once you account for the hinges and door stop eating into that width. Getting a true 32-inch clear opening generally requires a 34 to 36-inch door slab, and every doorway in an accessible ADU, not just the bathroom, should be built to this standard rather than the builder’s standard residential default.
Designing an Accessible Bathroom
The bathroom is where accessible design decisions matter most, and it’s also the room where corners get cut most often because curbless showers and wider layouts cost more upfront.
A curbless, roll-in shower is close to the single most valuable feature in an accessible ADU. It eliminates the step-over hazard that causes a huge share of bathroom falls, and it works whether the person using it today walks, uses a cane, or eventually needs a wheelchair or shower chair. A properly built roll-in shower needs a floor that’s gently sloped toward the drain rather than a threshold, along with waterproofing detail that goes beyond a standard shower pan, so this is a feature to design in from the start rather than attempt to retrofit.
Blocking for grab bars needs to go into the wall framing during construction, even if grab bars aren’t installed on day one. Reinforced blocking behind the shower walls and beside the toilet costs almost nothing to add during framing and becomes a genuinely expensive tear-out-the-wall project if it’s missing later when a grab bar becomes necessary.
Controls, shower valves, light switches, and the vanity faucet should sit within comfortable reach range for someone seated, generally between 15 and 48 inches from the floor, and lever-style handles work better than round knobs for anyone with limited grip strength.
A wall-mounted or open-knee-space vanity gives a wheelchair user the ability to roll underneath and use the sink directly, something a standard cabinet base makes impossible. And the toilet itself should sit at a comfort height, typically 17 to 19 inches, with clear floor space on at least one side for a caregiver or a transfer.
Kitchens That Actually Work From a Seated Position
An accessible kitchen isn’t just about width; it’s about what’s reachable without standing or reaching overhead.
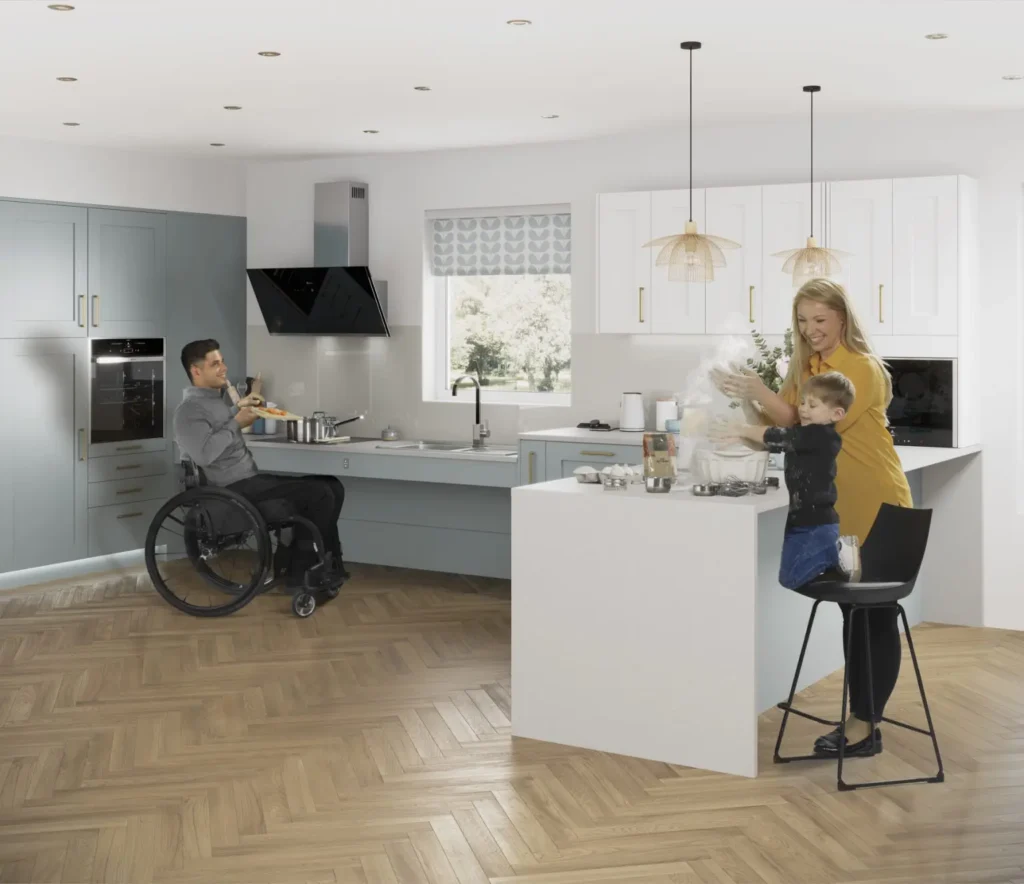
Clear floor space of at least 40 inches between counters, cabinets, or islands lets a wheelchair user maneuver through the kitchen rather than getting boxed in. At least one section of counter, typically 30 to 34 inches high with open knee space underneath, gives a seated cook a real workspace instead of forcing every task to happen from an awkward angle.
Pull-out shelving and drawers in place of standard fixed cabinets bring storage forward instead of requiring a reach to the back of a deep cabinet, which matters enormously for anyone with limited mobility or grip strength. Appliances deserve the same thought: a side-opening wall oven is dramatically easier to use from a seated position than a standard under-counter oven that requires bending, and a front-control range keeps someone from reaching across hot burners.
Lighting matters more in an accessible kitchen than people expect. Strong, even task lighting over the counter and stove reduces strain for anyone with limited vision, which becomes increasingly common with age even without a formal diagnosis.
Bedrooms Built Around Real Clearance, Not Just Square Footage
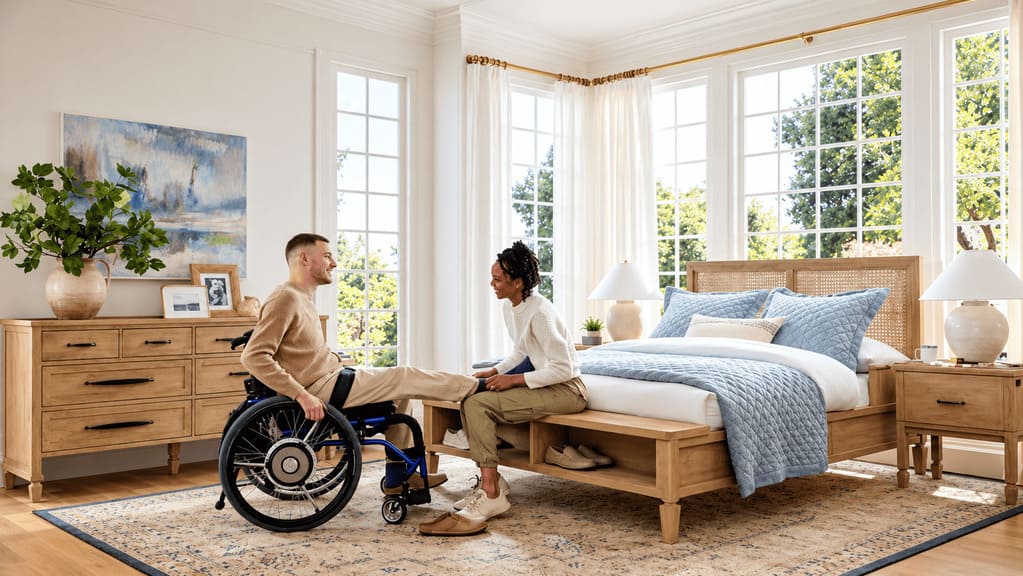
A bedroom that technically fits a bed can still be genuinely unusable for someone with mobility limitations if the clearances around it aren’t planned correctly.
At least 36 inches of clear space on both sides of the bed allows a wheelchair, walker, or caregiver to approach from either direction, which matters for daily transfers and for emergency access. The closet needs a door and a hanging rod height that works from a seated position; a sliding or pocket door often works better here than a standard hinged door that eats into the room’s usable floor space.
Location matters as much as layout. The bedroom should sit close to the accessible bathroom, ideally on a direct, obstacle-free path, since a nighttime trip to the bathroom is exactly the kind of moment where distance and obstacles turn into fall risk.
Future-Ready Wiring and Smart-Home Features
Some of the most valuable accessibility investments in an ADU aren’t visible at all, they’re built into the walls before drywall goes up.
Electrical blocking and conduit for a future stairlift, ceiling-mounted patient lift, or additional grab bars costs very little to plan during framing and become a major renovation to add later. The same goes for outlet height: placing outlets 18 to 24 inches above the floor rather than the standard 12 inches makes them reachable without bending or kneeling, and light switches lowered to around 42 to 48 inches serve the same purpose in reverse.
Smart-home features are increasingly part of aging-in-place planning, voice-activated lighting, video doorbells with two-way audio, smart locks that don’t require a physical key turn, and emergency alert systems that can notify family or a caregiver automatically. None of these need to be installed on day one, but running the wiring and network infrastructure during construction makes adding them later dramatically simpler and cheaper than retrofitting a finished space.
Comparing Accessible Studio, One-Bedroom, and Two-Bedroom Layouts
The right accessible floor plan depends heavily on who’s actually living there and what kind of support they need day to day.
An accessible studio works well for someone who’s largely independent but wants proximity to family, combining the bedroom and living area into one open, easily navigable space with no interior doors to complicate wheelchair movement. It’s the most space-efficient option and often the least expensive to build fully accessible, since there’s less square footage to outfit with wide doorways and clearances.
A one-bedroom accessible ADU is the most common choice for a parent or family member who needs a private bedroom separate from daily living space, and it allows for a clearer separation between a caregiver’s visiting hours and the resident’s private time.
A two-bedroom layout makes sense when a live-in caregiver is part of the plan from the start, or when the unit needs to accommodate a couple with different mobility needs. This option costs more and requires a larger buildable footprint, so it’s worth running realistic numbers early. Our ADU cost calculator and ADU loan calculator can help you compare what each layout actually costs before you commit to a size.
Mistakes That Undermine an Otherwise Good Design
A few recurring errors show up in accessible ADU projects that otherwise look well planned on paper.
Placing the only bedroom in a loft or on a second level is the most common one, and it’s the single decision that can make an entire unit unusable for the person it was built for.
A stepped entry, even a single low step, defeats the purpose of an otherwise accessible interior, since it blocks entry before anyone even reaches the accessible features inside.
Undersized bathroom doorways are a frequent oversight, especially when a builder defaults to standard residential door sizes without specifically flagging the accessibility requirement during framing.
Skipping grab bar blocking because bars aren’t needed yet is a decision families often regret within a few years, once a fall or a health change makes the feature suddenly necessary and now expensive to retrofit.
And underestimating turning space in a small ADU, sacrificing clearance to gain a few extra square feet of counter or closet, tends to make the unit noticeably harder to live in day to day, even if it looks fine on the floor plan.
Building Your Accessibility Checklist
Before finalizing an accessible ADU floor plan, confirm the route from parking to the front door is level and step-free, the entry has a zero-threshold door, every doorway delivers true 32-inch-plus clear width, the bathroom includes a curbless shower with grab bar blocking, the kitchen has at least one accessible-height workspace, the bedroom offers 36 inches of clearance on both sides of the bed, and the electrical plan includes reachable outlet and switch heights along with conduit for future mobility equipment.
If you’re still shaping the design, our AI ADU design advisor can help test layout options against these accessibility benchmarks before you invest in formal plans, and our contractor license lookup tool is worth using once you’re ready to bring in a builder with genuine experience in accessible or aging-in-place construction, since this is exactly the kind of project where prior experience shows up in the details that matter most.