Ask any homeowner three months into an ADU build what surprised them most, and almost none of them say “the framing” or “the roof.” They say the invoices. A well-designed ADU budget worksheet is the single cheapest insurance policy you can buy against that outcome, and yet most homeowners start their project with nothing more than a rough number a contractor mentioned during a walkthrough.
That gap between a ballpark estimate and a real, line-by-line budget is exactly where accessory dwelling unit projects go sideways. Below, we’ve broken down how to actually use an ADU budget worksheet to track every dollar from foundation to furniture, what a realistic 2026 budget looks like by category, and where a free, downloadable spreadsheet can save you from the five-figure surprises that catch most first-time ADU builders off guard.
Why a Line-Item Budget Beats a Ballpark Number Every Time
A single all-in estimate — “about $200,000”, say — feels useful until construction actually starts. It tells you nothing about where your money is going, which means you have no way to catch a problem until the bills are already due. A proper worksheet breaks the project into construction categories — site prep, foundation, framing, plumbing, electrical, interior finish, and so on — and tracks four numbers for each one: what you budgeted, what you were actually billed, what you’ve paid, and what’s still outstanding.
That structure matters because ADU cost per square foot varies enormously depending on the category — plumbing and electrical alone can eat roughly a quarter of a small ADU’s total budget, since a 500-square-foot unit still needs a full kitchen and bathroom. Without a category-level breakdown, you’d never spot that plumbing came in 30% over budget until the whole project was already over.
What a Realistic ADU Budget Looks Like in 2026
Nationally, ADU construction runs $150 to $300 per square foot on average, with most completed units landing between $80,000 and $360,000 depending on size, type, and finish level. In higher-cost states, that range shifts considerably — California detached units, for example, commonly run $300 to $500-plus per square foot once permits, utility trenching, and local labor rates are factored in.
Before diving into an ADU Budget spreadsheet, it helps to know roughly where those dollars land across a typical project:
- Garage or basement conversion: $40,000–$120,000 — cheapest option since the foundation and shell already exist
- Attached ADU: $80,000–$225,000 — new framing and foundation, but shorter utility runs
- Detached prefab or modular ADU: $120,000–$280,000 — standardized design speeds up permitting
- Custom detached ADU: $150,000–$400,000+ — full new construction with maximum design freedom
If you’re not sure which category fits your lot, our ADU Cost Calculator can generate a personalized estimate before you start filling in a worksheet — it’s a faster gut-check than guessing at a per-square-foot number.
The Categories Most Homeowners Underbudget
Permits, Plans, and Soft Costs
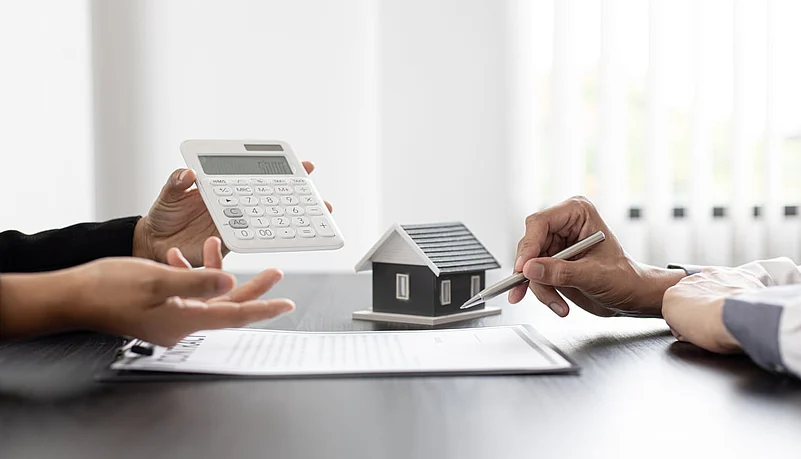
Soft costs — architectural plans, structural engineering, permit fees, and impact fees — routinely run 15% to 20% of total project cost before a single wall goes up. Building permits alone average around $1,350 nationally, but that figure climbs fast in dense metros: permit fees in some California cities run $10–$28 per square foot, which can mean $7,500 to $20,000-plus in fees alone for a mid-size unit.
Pre-approved city plans can cut architectural costs by 40% or more compared to a fully custom design, so it’s worth checking your jurisdiction’s standard plan library before commissioning custom drawings. A quick pass through our Zoning Information Lookup tool will tell you what’s allowed on your specific parcel — including whether pre-approved plans are even an option — before you pay a designer for a custom set.
Site Work and Utility Connections
Grading, drainage, tree removal, and trenching for water, sewer, and electrical lines are consistently the most underestimated line items on an ADU budget. Detached units in particular can rack up tens of thousands of dollars in utility trenching alone if the connection point is far from the street or the main house’s panel. If your worksheet doesn’t have a dedicated section for excavation, on-site water/sewer, and utilities separate from the main construction categories, add one — this is where flat estimates fall apart the fastest.
Contingency — And Why 10% Isn’t Enough for Older Lots
A standard 5–10% contingency line is a reasonable floor for a straightforward, flat-lot build. But sloped lots, older homes with unknown utility conditions, or properties in coastal or environmentally sensitive zones routinely see change orders that push actual costs 15–20% above the original estimate. Building that contingency into your worksheet — not just as a mental buffer, but as an actual line item with a dollar figure — keeps a mid-project surprise from becoming a financing scramble.
How to Actually Use the ADU Budget Worksheet: Four Numbers Per Line Item
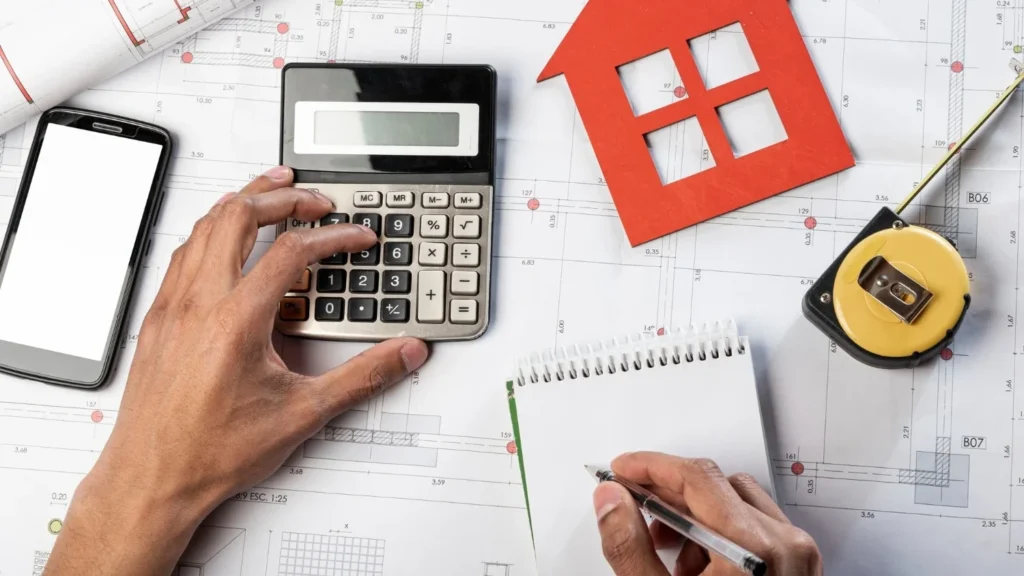
Every well-built ADU budget worksheet tracks the same four figures for each category, and the discipline is in updating all four consistently rather than just the first one:
- Estimated Cost — your projected ADU budget, split into materials and labor, entered before construction starts
- Actual Cost — the amount actually invoiced by your contractor or subcontractor for that line item
- Variance — the gap between what you budgeted and what you were billed, so overruns are visible the moment they happen
- Current Paid / Amount Due — what you’ve actually disbursed against each invoice, and what’s still outstanding
Tracking variance in real time, category by category, is what turns a spreadsheet into an early-warning system instead of a post-mortem. If framing comes in 12% over budget in month two, you can adjust contingency spending on later categories — kitchen finishes, landscaping, furniture — before the project ever goes fully over budget.
This is also where a payment schedule tied to completed milestones — rather than a lump sum up front — protects you. If you haven’t structured that yet, our guide to ADU contractor payment schedules walks through how to tie payments to inspections and completed work instead of handing over cash before a phase is finished.
Download the Free ADU Budget Worksheet
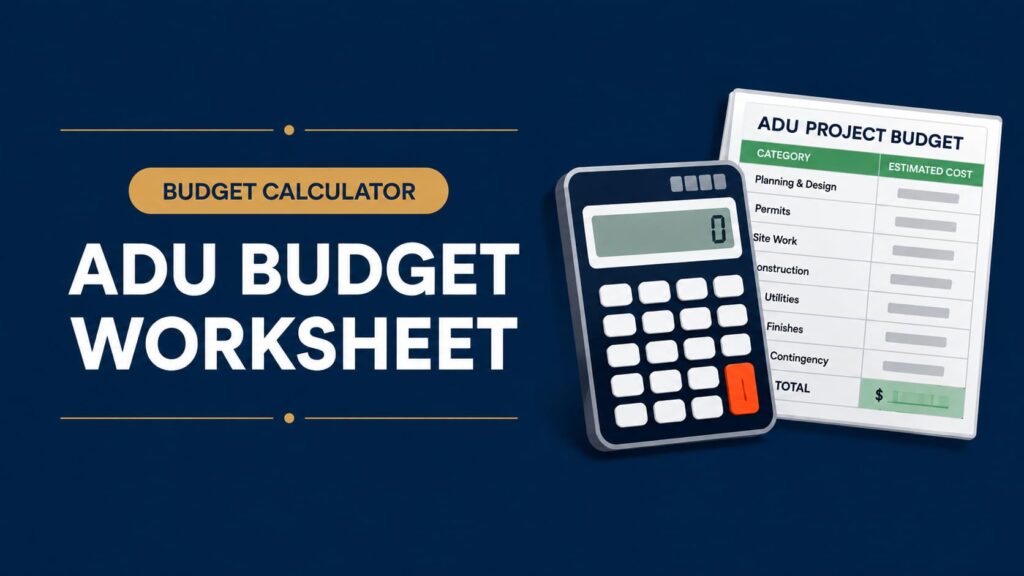
We’ve put together a free, editable ADU budget worksheet that mirrors the structure above: a simplified summary tab for a quick overview, plus a detailed line-item tab covering every major construction category — from general requirements and site prep through kitchen and bath, appliances, and furniture. Estimated and actual costs, variance, and amount-paid columns are pre-built with formulas, so subtotals roll up automatically as you enter numbers.
Download the worksheet, save a copy before editing (the shaded cells contain formulas — overwriting them will break the automatic totals), and start filling in your estimated costs as soon as you have contractor bids in hand. Update the actual cost and payment columns as invoices come in, and check the variance column weekly during active construction — that’s the single habit that catches overruns early enough to actually do something about them.
Financing the ADU Budget Once You Have Real Numbers
A finished worksheet does double duty: it’s also exactly what a lender wants to see before approving financing. Most homeowners fund ADU construction through a home equity line of credit, a cash-out refinance, or a construction loan underwritten against the home’s value once the ADU is complete. Once your line-item budget is filled in with real contractor bids, run the total through our ADU Loan Calculator to see what monthly payments actually look like across different loan structures before you commit to one.
If you’re still comparing financing paths, our breakdown of HELOC vs. home equity loan options covers the trade-offs in more depth.
Finding the Right Contractor for Your ADU Budget
An ADU budget worksheet is only as reliable as the bids feeding it. Before you commit a contractor’s number to your spreadsheet, confirm their license, bonding, and insurance status through our Contractor License Lookup tool — an unlicensed or under-bonded contractor is one of the fastest ways to turn a well-planned budget into a costly dispute. And if you’re still finalizing your design, the AI ADU Design Advisor can help you pressure-test layout decisions against your budget before you lock in architectural plans.
Frequently Asked Questions
What should be included in an ADU budget worksheet?
At minimum: estimated and actual costs by construction category (site prep, foundation, framing, plumbing, electrical, HVAC, interior finish, kitchen/bath), a contingency line of 10–20%, soft costs for design and permitting, and columns tracking what’s been paid versus what’s still owed.
How much contingency should I budget for an ADU?
A 10% contingency is a reasonable minimum for a straightforward, flat-lot build. For sloped lots, older properties, or projects in coastal or environmentally sensitive zones, budgeting 15–20% is safer given how often site conditions drive change orders.
Is the ADU budget worksheet editable?
Yes — it’s a standard spreadsheet file you can open, save a working copy of, and edit freely, aside from the formula-driven subtotal cells, which are shaded and should be left alone so your totals stay accurate.
Do soft costs really add 15–20% to an ADU budget?
For most projects, yes. Architectural plans, engineering review, permit fees, and impact fees typically fall in that range, though pre-approved city plans can reduce the design portion significantly.
Final Thoughts
The homeowners who finish ADU projects closest to their original budget aren’t the ones who found the cheapest contractor — they’re the ones who tracked every category, every invoice, and every variance from day one. Download the worksheet, fill in your numbers as soon as bids come in, and revisit it weekly once construction starts. It’s a small habit that consistently saves five figures.