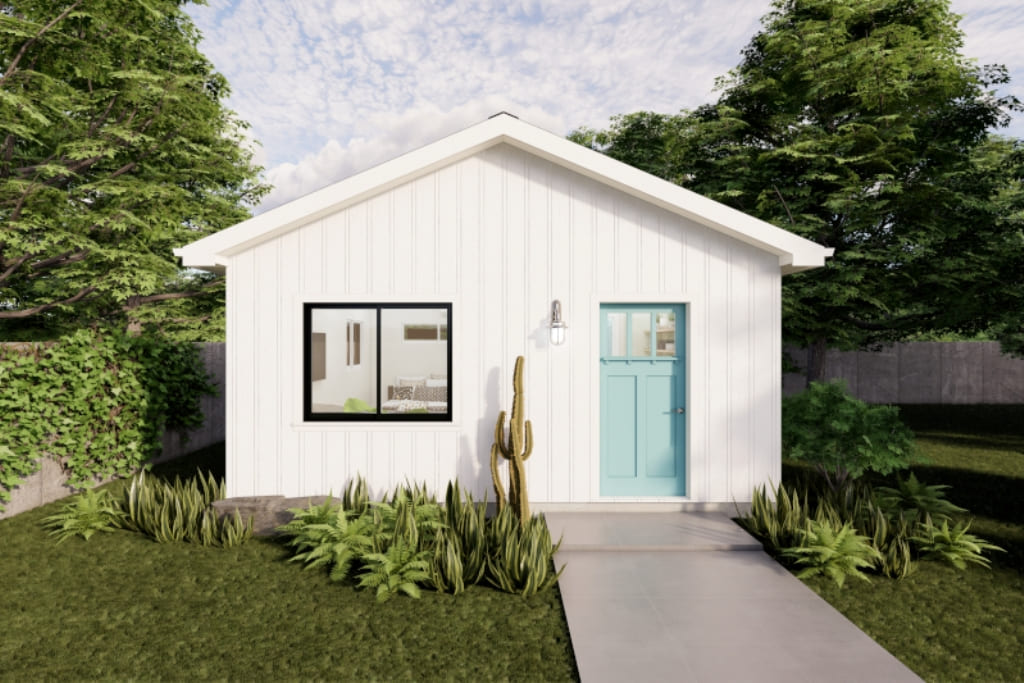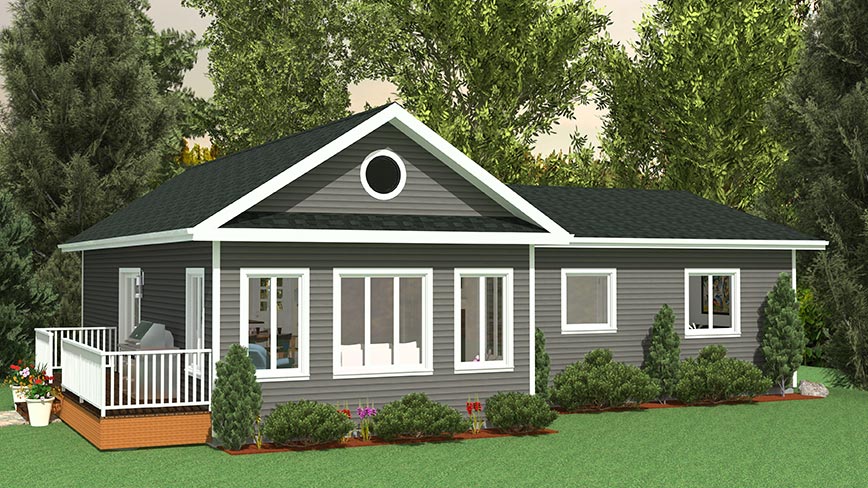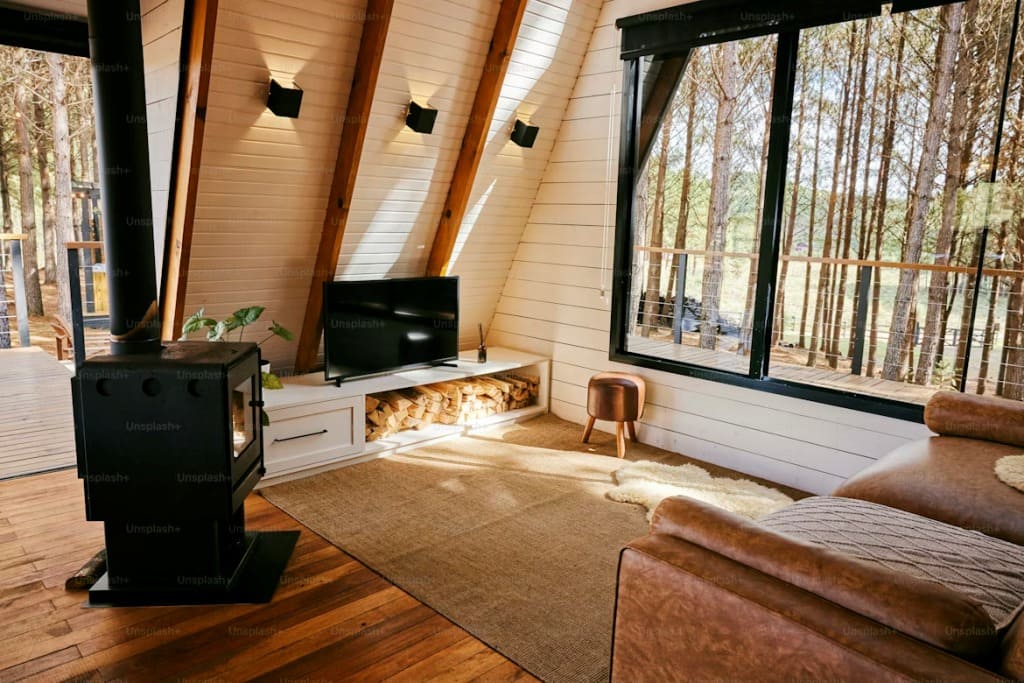
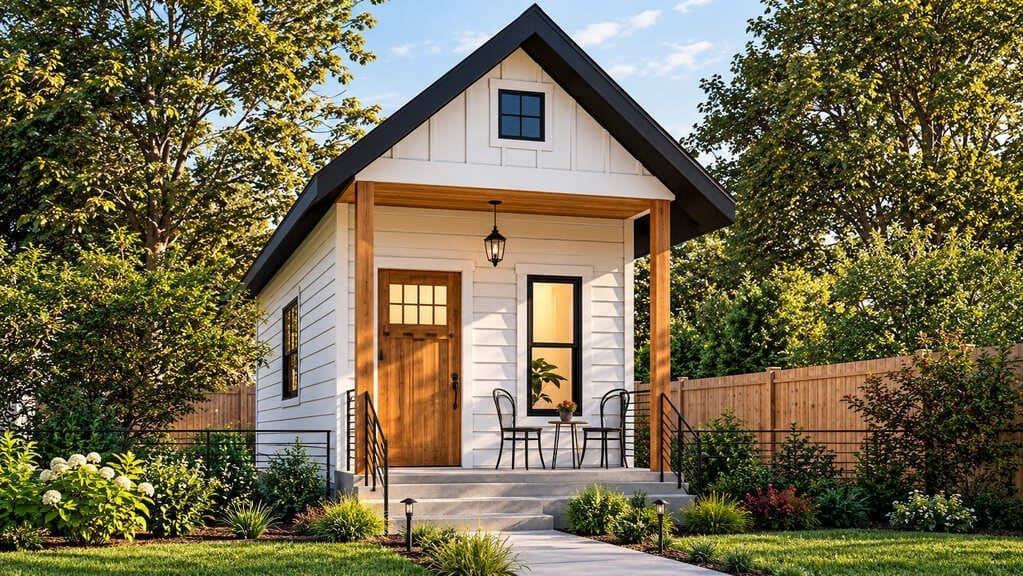
Somewhere between “this lot is too small for an ADU” and “we’ll figure it out later,” a lot of homeowners with long, skinny backyards just give up on the idea. That’s usually a mistake. Some of the most efficient units being built right now sit on strips of yard barely wider than a two-car driveway, with finished plans measuring 13 to 14 feet across and still fitting a real bedroom, a full bath, and a kitchen that doesn’t feel like an afterthought. Narrow-lot ADU floor plans are a genuinely different design problem than a small backyard in general, and treating them the same way is how you end up with a dark hallway and a bedroom that barely fits a bed.
This guide focuses specifically on width-constrained sites: the side yard that’s 15 feet between fences, the deep rear lot that’s long but never gets wide, the parcel where the buildable strip left over after setbacks is the real limiting factor. If your lot fits that description, here’s how to think about the layout before you fall in love with a plan that was never drawn for your site.
Start With the Buildable Rectangle, Not the Lot Line
The number that actually matters isn’t your total lot width. It’s what’s left after every required clearance eats into it, and on a narrow site, that difference is often the whole ballgame.
Most jurisdictions require something in the range of 4 feet from a side property line and a similar or slightly larger distance from the rear line, though this varies by city and by how tall your structure is. A lot that measures 20 feet wide on paper might leave you with a buildable strip closer to 12 or 13 feet once both side setbacks are subtracted. Add an easement for a utility line, a required clearance around an existing fence or shed, or a fire-access path, and that number can shrink further still.
This is the step most homeowners skip, and it’s the one that causes the most wasted design time. Before looking at any narrow ADU floor plan, get your actual buildable rectangle on paper: pull your lot survey, mark every setback and easement, and see what width and depth you’re truly working with. Our zoning information lookup tool can pull your specific setback requirements by address, which turns this from a guessing exercise into an actual number you can design against.
Four Layout Strategies for Narrow-Lot ADU Floor Plans
Once you know your real buildable width, the layout options narrow to a handful of approaches that consistently work on tight sites.
The linear one-bedroom. This is the workhorse narrow ADU floor plan, and it shows up constantly in the 13 to 14-foot-wide range. Everything lines up front to back: entry, open living and kitchen, then a bedroom and bath at the rear or side. A single wall usually carries all the plumbing and utility runs, keeping the opposite wall open for windows and circulation. Plans in this width class regularly deliver a genuine one-bedroom layout with a queen-size bedroom and a full bath in 400 to 500 square feet total.
The compact studio. When the buildable width drops below about 13 feet, a full one-bedroom starts fighting the geometry, and a studio layout usually reads better. The bedroom area becomes a defined zone within one open room rather than a walled-off room, which avoids the narrow hallway that eats width you don’t have to spare.
Front-to-back with a utility spine. On deeper lots, running plumbing and storage down one long wall, kitchen, bathroom, and closets all sharing the same wet wall, frees up the opposite side for uninterrupted living space. This is the layout that shows up in successful narrow and irregular lot designs, where a single circulation wall carries the kitchen and utilities while the far wall stays open for large windows.
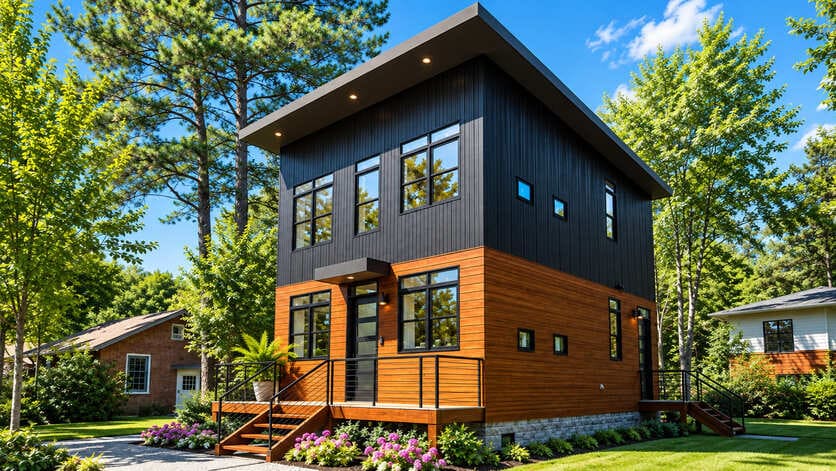
Two-story on a narrow footprint. If your city allows the height and your buildable footprint is genuinely tight, going vertical solves the width problem instead of fighting it. A two-story narrow ADU can deliver two real bedrooms in a footprint just 14 feet wide, with an open living and kitchen area downstairs and bedrooms upstairs, using roughly the same ground footprint a one-bedroom single-story plan would need anyway. Detached ADUs can typically reach 16 to 18 feet in height under many state and local guidelines, though this varies enough by city that it’s worth confirming before you commit to a two-story design.
Where to Put What: Room Placement That Doesn’t Fight the Width
Once you’ve picked a general strategy, room placement on a narrow plan follows a fairly consistent logic.
Wet rooms, kitchen and bathroom, work best stacked along one wall or clustered near the utility connection point closest to your main house. This shortens your plumbing run, which matters both for cost and for keeping the opposite wall free of pipes that would otherwise force awkward jogs in your layout.
Bedrooms do best at the far end from the entry, both for privacy and because that’s usually where you can get a window that doesn’t face directly into a neighbor’s yard or your own side path. A bedroom placed mid-plan often ends up borrowing light and privacy from the rooms around it, which is a common regret in early narrow ADU designs.
Storage gets built into what would otherwise be dead space rather than treated as its own room. A closet run along the utility wall, a bench with drawers under a window, or cabinetry that goes floor to ceiling in the kitchen all recover square footage that a separate storage room would waste on a width-constrained plan.
Living and dining share one open zone rather than being separated by a wall, which is standard practice at this scale and does more for how spacious the unit feels than almost any other single decision.
Bringing in Light Without Losing Privacy
The single biggest complaint about poorly designed narrow units is that they feel like a hallway with furniture in it. Good narrow-lot ADU floor plans solve this with light, not extra width.
End windows do the most work here. A narrow plan that’s open front to back can pull light through generous windows or sliding doors at both ends, which creates a sense of depth even in a unit that’s genuinely only 13 or 14 feet across. Cross ventilation is a real bonus on top of the daylight benefit.
Clerestory windows, set high on a side wall above eye level, bring in daylight along the length of the unit without opening a sightline into a neighbor’s yard. This works particularly well on the side facing a shared fence line where a standard window would raise privacy concerns for both properties.
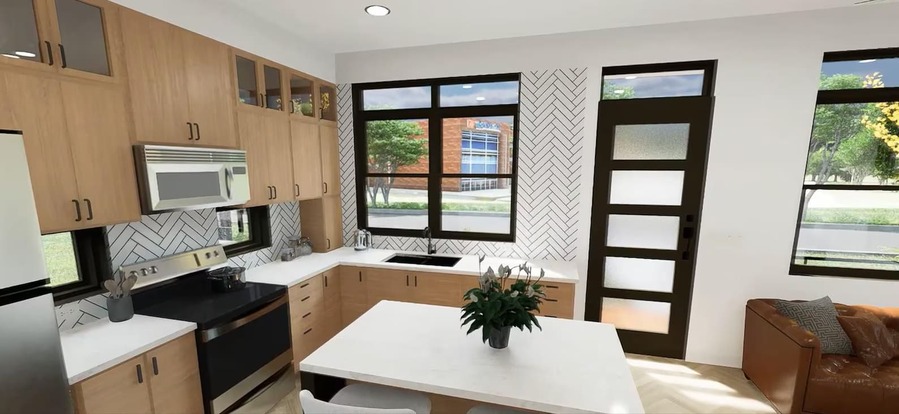
Interior glazing helps too. A frosted or reeded glass panel between a bedroom and the main living space lets borrowed light reach an interior room without sacrificing the visual privacy a bedroom needs.
Skylights are worth considering on a single-story narrow plan, especially over a bathroom or a section of hallway that would otherwise have no natural light source at all.
Access, Utilities, and the Parts of the Site Plan People Forget
A narrow lot rarely has room for a mistake in the site plan, and access is where those mistakes show up most.
You need a clear path to reach the ADU for construction and, afterward, for maintenance, trash removal, and utility servicing. On many narrow sites, this path runs directly alongside the structure, so it has to be accounted for in your buildable width from the very start rather than added as an afterthought once the floor plan is drawn.
Utility corridors matter just as much. Water, sewer, and electrical lines running from the main house to the ADU need a defined path that doesn’t conflict with foundation work, landscaping, or that same access corridor. On a genuinely tight lot, coordinating this early with your contractor avoids a redesign later when a utility trench turns out to need space nobody planned for.
Trash and outdoor storage still need a home. A narrow side yard rarely has room for a freestanding shed in addition to the ADU, so built-in exterior storage, a covered nook along the utility wall, or a compact enclosure near the access path usually ends up doing that job instead.
Furniture and Fixtures That Actually Fit
The interior finishes on a narrow ADU floor plan aren’t just a style choice; they’re part of making the layout function at all.
Pocket doors instead of swinging doors recover several square feet of usable floor space per doorway, which adds up fast in a unit this size. A standard swinging bathroom door alone can eat enough floor area to make the difference between a bathroom that feels workable and one that doesn’t.
Built-ins beat freestanding furniture almost every time on a narrow plan. A built-in bench, a wall-mounted desk, or floor-to-ceiling cabinetry uses depth more efficiently than any furniture piece you’d buy separately, and it doesn’t eat into walking clearance the way a freestanding dresser or bookshelf would.
Shallow-depth cabinetry in the kitchen, closer to 12 inches than the standard 24, keeps a galley kitchen from narrowing the walking path to an uncomfortable width, while still providing real storage.
Fold-down and Murphy-style furniture makes sense in a studio-style narrow plan where a single room needs to serve as both living space and sleeping space at different times of day.
Common Mistakes on Narrow ADU Sites
A few patterns show up repeatedly in narrow-lot projects that don’t go well.
Copying a plan that wasn’t designed for your specific buildable width is the most frequent one. A floor plan advertised as fitting a 14-foot-wide lot assumes a specific setback configuration; if your actual buildable width is a foot narrower once your setbacks are applied, that plan simply won’t fit without modification.
Ignoring utility and maintenance access until the floor plan is finalized often forces a late redesign, since there’s rarely spare width to absorb an access path that wasn’t planned for from the start.
Designing a long central hallway without windows creates the dark, tunnel-like feeling that gives narrow ADUs a bad reputation, when the fix- end windows and an open front-to-back layout- was available from the beginning.
Measure Your Lot Before You Fall in Love With a Plan
Before you commit to any narrow ADU floor plan, walk your site with a tape measure and a copy of your lot survey, and confirm these numbers:
- Total lot width at the narrowest point where the ADU will sit
- Distance from each side property line to your structure per your local setback rules
- Any recorded easements crossing the buildable area
- Width needed for a maintenance and utility access path alongside the unit
- Distance from the main house to the planned utility connection point
- Height limit that applies to your zoning district, if you’re considering a two-story layout
Running these numbers through a rough cost estimate early also helps set expectations before you get attached to a specific design. Our ADU cost calculator and ADU loan calculator can help you see what a narrow-footprint build looks like financially before you invest in formal plans.
Get a Feasibility Review Before You Design
A narrow lot isn’t a disqualifier, but it does mean generic floor plans need real adjustment before they’ll work on your specific site. A local feasibility review, checking your actual buildable rectangle, access requirements, and utility routing against the plan you’re considering, catches the conflicts that a plan catalog alone never will. If you’re ready to see what fits, our AI ADU design advisor can help sketch layout options against your lot’s real dimensions, and our contractor license lookup tool is a solid next step once you’re ready to bring in a builder who’s worked narrow sites before.